Save your CPS2 Games - A guide how to Replace the 3,6v "Suicide battery"
This guide will show you how to replace the suicide battery on your Capcom CPS2 gameboards. A pretty easy task !!
Why ?
The Capcom CPS2 gameboard has a 3,6v Lithium battery that is keeps the gameboard alive as long as the battery is okey.
If the battery is older then five or six years your board is at risk at becomming useless since the CPS2 gameboards are protected by a system that uses encrypted software in the ROM's. The decryption code is stored in some chips that are supplied by the 3,6v battery when the gameboard is switched off or disconnected from the mainboard.
In other words, if the battery dies so does your gamingboard (There are heavily modified Rom's that you could use if it's too late and the gamingboard battery has died but your gameboard will be 100% ok as long as you change battery).
The gameboard will stay alive for about one hour without the battery so there's plenty of time to change to a new one. It's 100% safe to remove the battery
Things you need to perform this operation
Before we begin
Make sure that you use some sort of anti-static protection before you start otherwise there's a risk of roms and other components short circuiting which could render your gameboard useless.
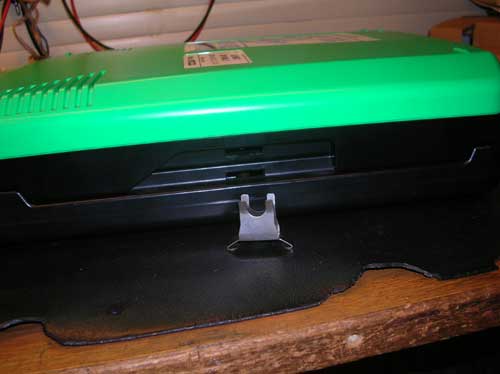
| Step 1 - Remove the Gameboard & Motherboard Connectors |
|
|
| Remove the two connectors that holds the gameboard and mainboard together, there is one connector on each side of the gameboard and mainboard. |
| They can be hard to remove but if you use some force they would come off pretty easily |
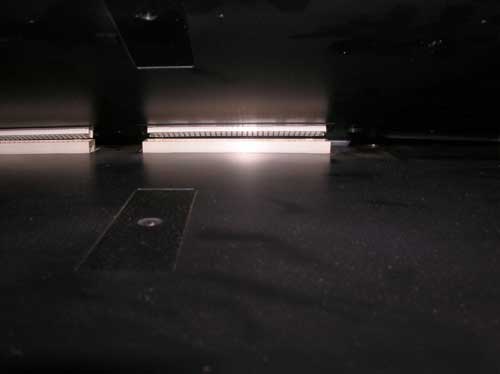
| Step 2 - Separate the Gameboard & Motherboard |
|
| The two boards are now ready to be separated, the boards can be pretty hard to separate but if you use a small flat blade screwdriver they should separate easily. Now remove the coloured top board (This is the gameboard) by pulling it straight upwards. |
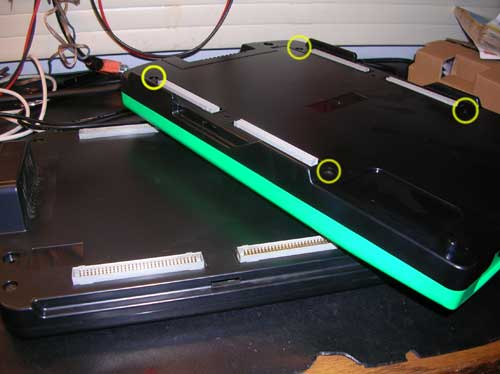
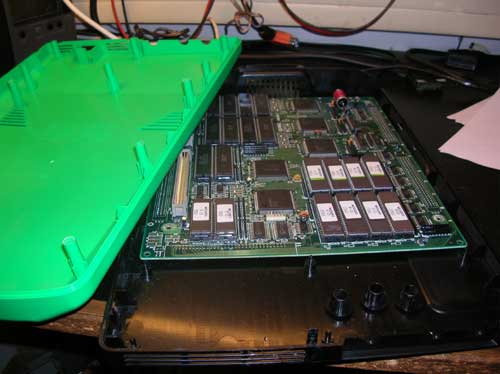
| Step 3 - Opening the Gameboard |
|
| Turn the gameboard upside down and locate the four torx screws and unscrew them. You should use a small Torx Security screwdriver (Torx with a hole in the middle) but you can use a normal screw one, if you use a normal screw driver be sure that you dont ruin the screws. |
| When you unscrewed the four Torx screws the next step is to open the gameboard case. |
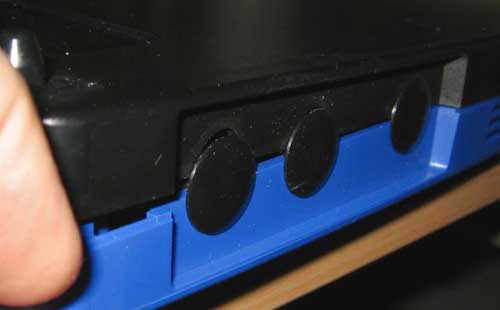
Photo by Johan Svensson Byt Batteri i ditt CPS2-Spel |
| Be prepared the the three black plastic things which are fitted in the "Communicaton Out", "Communication In" & "Register" holes above the "Extra button connector" might try and escape when you open the case. |
| Step 4 - Removing Gameboard PCB & Locating Battery |
|
| Remove the PCB in your gameboard and locate the 3.6v battery which we now will desold from the PCB. |
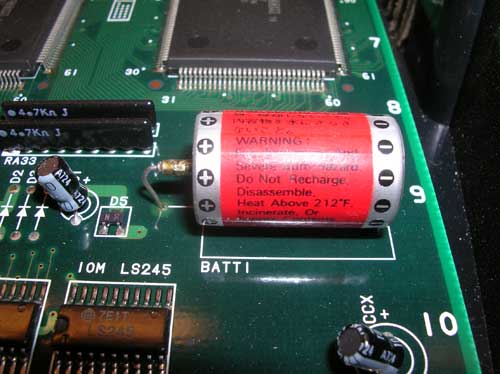
| Step 5 - Desoldering the Battery |
|
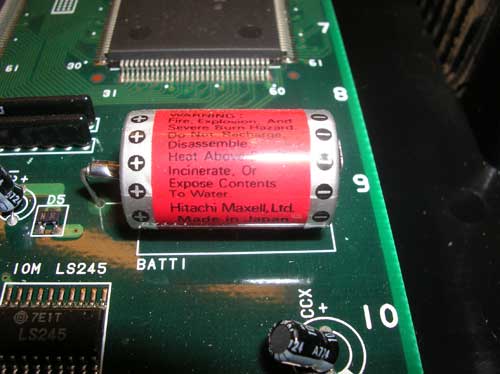
| The battery is usually a big red one from Maxell but can be of some other brand too. Be sure to note the polarity (+/-). |

|
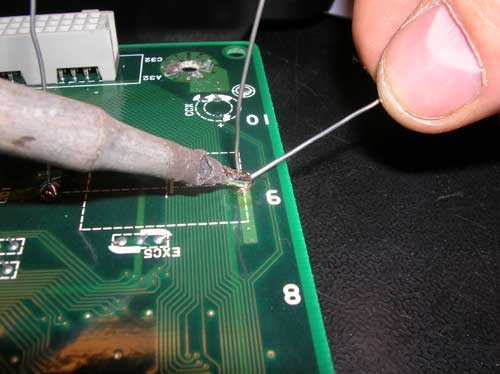
| Now turn the PCB upside down and use a desoldering braid or a desolderign pump to remove the old battery. |
|
Be sure that you dont short-circuit anything with the braid. If you do then your game will die. |
| Step 6 - Fit & Solder the new Battery |
|
| 1. Bend the legs and fit the new battery in the holes with the +/- polarity correct |
|
| 2. Apply the tip to the soldering iron to one solder leg at the time and then apply some led, make sure that it makes a small but strong solder. |
|
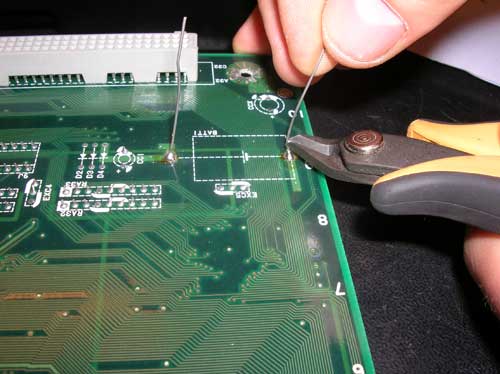
| 3. Leave a couple of milimeters when you remove the legs from the battery. |
| Step 7 - Put everything back together |
|
| Now put the PCB back into the case, put the case back together and fasten the four screws, put the three black plastic hole covers back in their respective place, re-connect the gameboard with the motherboard and put the two connectors back. |
| Your CPSII game will now stay alive & healthy for 5 years with no problems. It's a good idea is to add a sticker or something with the date you changed battery on your gameboard so you know when it's time to replace the battery again. |
Links
Byt batteri i ditt CPS2-Spel An excellent guide in Swedish
CPS-2 Shock -
EPE "Basic Soldering Guide"